Need to make the form pretty and be able to address the form to the approving manager.
Quick:
Use Field Chooser to add the To field to the form and rename the button. Use Layout menu so align fields.
Visual/Learning:
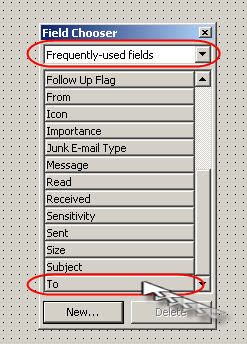
From the Field Chooser select "Frequently-used fields" and Drag and Drop the To field onto the workspace.
 Now modify the To... button so that it says Approval, or Approving Manager or something like that. Right click on the button and go to properties.
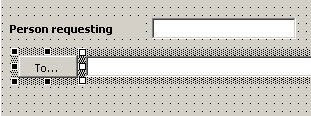 Change the Caption for the button.
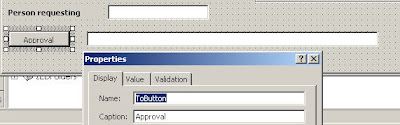
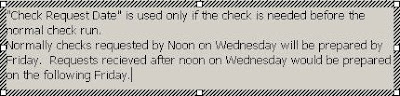
I am going to add one more label field for instructions on using the "Check Request Date" field. Notice here that I can edit the label field in the workspace area and type without opening the properties page for the label. Just right click the label and select Edit from the menu to do this.
Now I have a big label with instructions and all the fields we have added.

Time to Clean it up a bit. I click and hold down the left mouse button anywhere on the page and drag a box through any part of a control to select it. Here I select 5 text boxes.
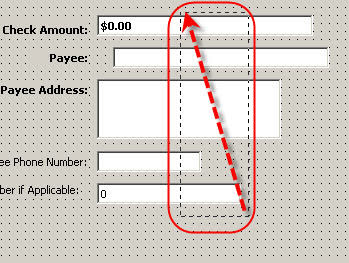
Now that they are selected I can go to the Layout menu and select Align, Left so that the left edges of all the text boxes line up together.
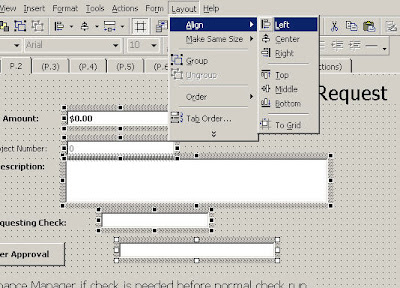
Now the text boxes are aligned left and I select the labels and align them to the right.
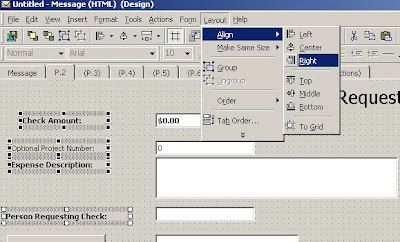
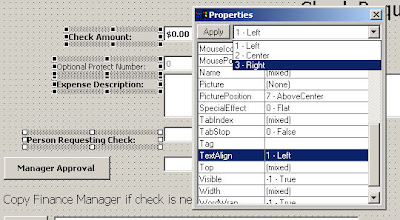
Now the label boxes align but the text inside the boxes is not quite right so I am going to set the labels to use right justification. With them all selected I right click to get "Advanced Properties" and select TextAlign and pick "3-Right" from the drop down box.
 You can also select groups of items and fix the vertical spacing from Layout menu, select Vertical Spacing, and one of the options. In some cases it my be easier to manually place controls using the grid as a guide.
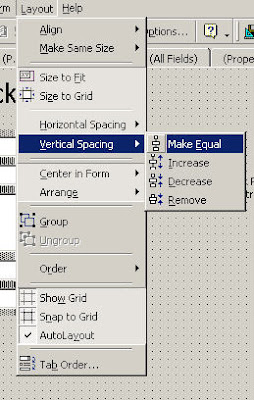
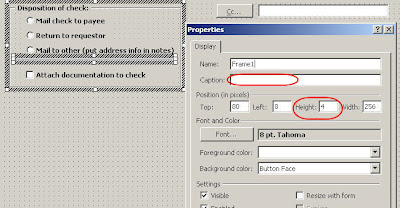
Next align the items in the frame control. To give some visual separation of the check box from the radial controls I am going to make a line out of an empty frame with a blank Caption field. I stretch the frame long and skinny. I can also manually adjust the height of the frame on the properties box. Here you can see that it is set to 4.
Play with the layout till it is pretty close to the way I want it.
Go To Outlook Forms 8
Go to Outlook Forms Index
4 comments:
Hello!
The "To" doesn't show up when I tried to drag it to the form.
I tried another blank form in design mode but it doesn't also show up the "To" button when trying to drag and drop.
Thanks.
I believe you can only have one To field on the form. Cut and past it from the message tab of the form to the location where you are tring to move it.
Hello!
I have a reporting form and a manager's confirmation form, both of which have been working fine. The manager confirmation form is automatically routed back to the sender and to an HR email box. This form is suddenly getting "stuck" in the outbox and not getting sent. All other mails are sent without problem (also other forms).
Have you ever encountered anything like this? Any idea where I should look for the problems?
Thanks
Debbie
How can i set a default recepient mail address in the To field
Post a Comment